I did these for my little sister's 16th birthday that's coming up in a few weeks. She loves flower clips!
And I apologize if the photos aren't the best...these were all taken with my cell phone.

What you’ll need:
Satin fabric
Hot glue gun
Scissors
Pearl embellishments (or use whatever you’d like) – I found mine in the scrapbooking section. $3 for a pack of 24
Lighter/tea light candle
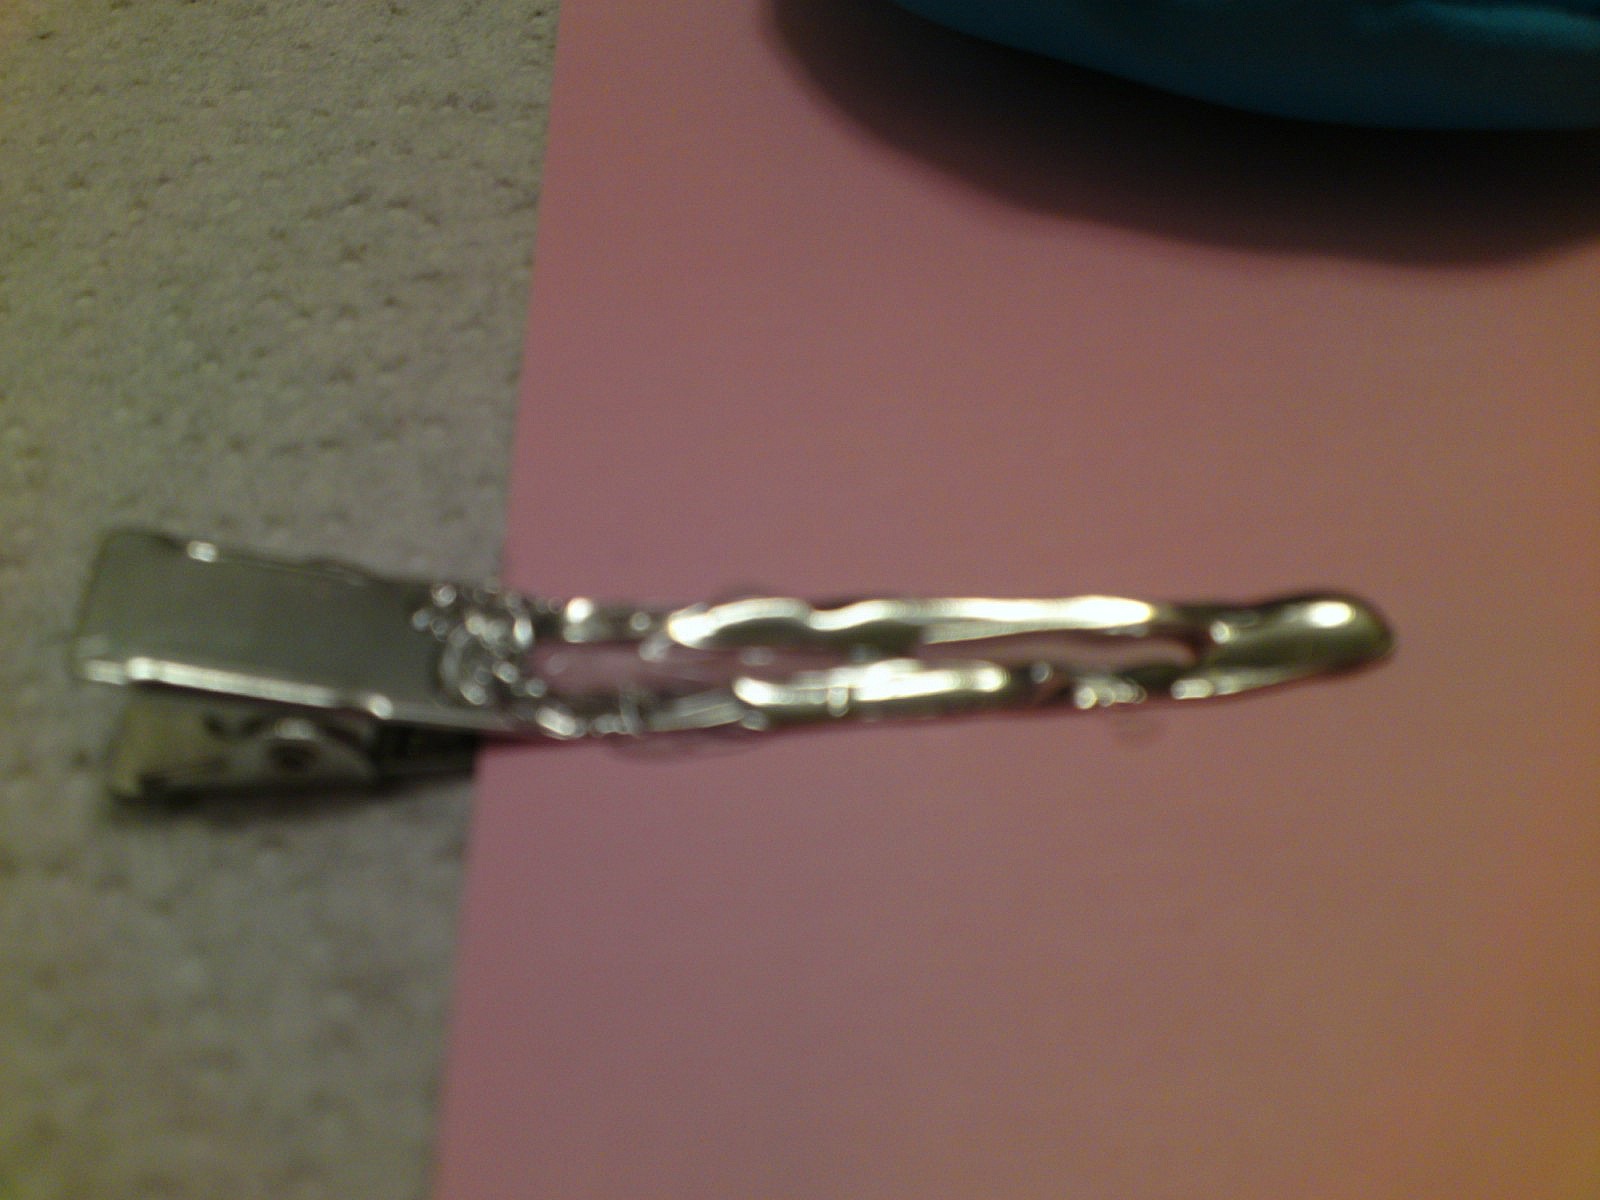
Alligator clips
To make the flower:
1. Cut 6 circles (they don't have to be perfect) from the satin. I didn’t really measure I just sort of cut a circle and made the other 5 go in descending sizes (you can also do 5. I ended up not liking the 6th circle on one of the flowers, so I didn’t put it)

2. Light your candle (you can use the lighter too, but it hurt my finger to use it after a while, so the candle was easier) and hold each circle near the flame for a few seconds. You’ll have to watch it or it will melt too much and it won’t look right. You want the edges to curl up. I let mine singe a little bit so they would look darker. To me, it just gave more ‘life’ to the flower.
3. Once you’re done doing all 6 of your circles it’s time to bring out the glue gun (or whatever adhesive you’re using)! Place a glob of glue on the largest circle and then put the next size on top of it. Continue this with all the circles. Be careful because if you smooth it down you just might burn your fingers! I’m proof!

4. Take your pearl and put a small dab of hot glue on it, then press it in the center.
To put it on the alligator clip:
1. Clip your alligator clip to a piece of cardboard or paper
***optional: hot glue ribbon around the clip (or just place a small strip and cut to size after your flower is on) first so it won’t stick to the cardboard and will look more attractive underneath. I would have done this, but I didn’t have any ribbon handy***
2. Place hot glue on the clip, being careful not to get glue on the part where fingers will grab to open the clip. (I apologize that this photo is dark and kind of blurry. I didn't realize it was blurry until it was too late and this was as bright as I could get it without it looking worse.)
3. Gently press your flowers on, it’s alright if it’s not in the dead center, you can’t tell when it’s in your hair.
4. After about 30 minutes (or however long you choose to wait), peel your clips off the cardboard. The cardboard will rip and there will be traces of paper on the hot glue areas. It’s perfectly fine. No one will see it, it won’t damage your hair, and it will be fine.
And there you have it! Cute hairclips!!
Great job on the tutorial. I have this on my list of things to do.
ReplyDelete